Accurate Setting-Out Without Relying on the Walls
The same blue trammel bar used by MyScribe in its flooring setting-out videos.
The MyScribe Trammel Bar makes the traditional trammel method simpler, faster and easier to repeat. Its fixed PIVOT, CIRCLE and ARC positions remove the need to measure or adjust traditional trammel points, helping floor layers create accurate working lines without relying on walls being straight or square.
Ideal for setting out herringbone, basket weave and other patterned flooring, the bar uses simple geometry to establish a true perpendicular line and provide an accurate foundation for the rest of the installation.
Key features
Fixed PIVOT, CIRCLE and ARC positions
No measuring or adjustable trammel points required
Helps establish accurate square and perpendicular working lines
Ideal for herringbone and other patterned flooring installations
Three clearly labelled 3mm holes
Designed to accept the 2.8mm lead used in many mechanical pencils
The pivot can also be anchored using a suitable nail, nail punch, scribing pen or similar tool
Lightweight blue Perspex construction
MyScribe branded and designed for professional floor layers
How It Works
Mark your centre point and anchor the bar through the PIVOT hole. Use the CIRCLE hole to draw the initial circle across your primary working line.
Move the pivot to each point where the circle crosses the primary line, then use the ARC hole to draw matching intersecting arcs. Joining these intersections creates a true perpendicular line through the original centre point, giving you accurate 90-degree working lines.
The same geometric method can then be used to divide those 90-degree sections and establish accurate 45-degree working lines. These diagonal lines provide the correct foundation for setting out herringbone and other patterned flooring installations.
Because the layout is created using fixed geometry, it doesn’t depend on the surrounding walls being straight, parallel or square.
Specifications
What’s included
Please note: This listing is for the Trammel Bar only. Scribing pens, tracer pencils, nails, nail punches and other accessories are not included.
MyScribe Design Ruler
A compact 500mm addition to the MyScribe Trammel Bar range, created for setting out motifs, circles, arcs and decorative designs. Made from the same 3mm Perspex, it features centre holes every 10mm and an engraved metric ruler for quick, accurate layout work.
Accurate Setting-Out Without Relying on the Walls
The same blue trammel bar used by MyScribe in its flooring setting-out videos.
The MyScribe Trammel Bar makes the traditional trammel method simpler, faster and easier to repeat. Its fixed PIVOT, CIRCLE and ARC positions remove the need to measure or adjust traditional trammel points, helping floor layers create accurate working lines without relying on walls being straight or square.
Ideal for setting out herringbone, basket weave and other patterned flooring, the bar uses simple geometry to establish a true perpendicular line and provide an accurate foundation for the rest of the installation.
Key features
Fixed PIVOT, CIRCLE and ARC positions
No measuring or adjustable trammel points required
Helps establish accurate square and perpendicular working lines
Ideal for herringbone and other patterned flooring installations
Three clearly labelled 3mm holes
Designed to accept the 2.8mm lead used in many mechanical pencils
The pivot can also be anchored using a suitable nail, nail punch, scribing pen or similar tool
Lightweight blue Perspex construction
MyScribe branded and designed for professional floor layers
How It Works
Mark your centre point and anchor the bar through the PIVOT hole. Use the CIRCLE hole to draw the initial circle across your primary working line.
Move the pivot to each point where the circle crosses the primary line, then use the ARC hole to draw matching intersecting arcs. Joining these intersections creates a true perpendicular line through the original centre point, giving you accurate 90-degree working lines.
The same geometric method can then be used to divide those 90-degree sections and establish accurate 45-degree working lines. These diagonal lines provide the correct foundation for setting out herringbone and other patterned flooring installations.
Because the layout is created using fixed geometry, it doesn’t depend on the surrounding walls being straight, parallel or square.
Specifications
What’s included
Please note: This listing is for the Trammel Bar only. Scribing pens, tracer pencils, nails, nail punches and other accessories are not included.
MyScribe Design Ruler
A compact 500mm addition to the MyScribe Trammel Bar range, created for setting out motifs, circles, arcs and decorative designs. Made from the same 3mm Perspex, it features centre holes every 10mm and an engraved metric ruler for quick, accurate layout work.

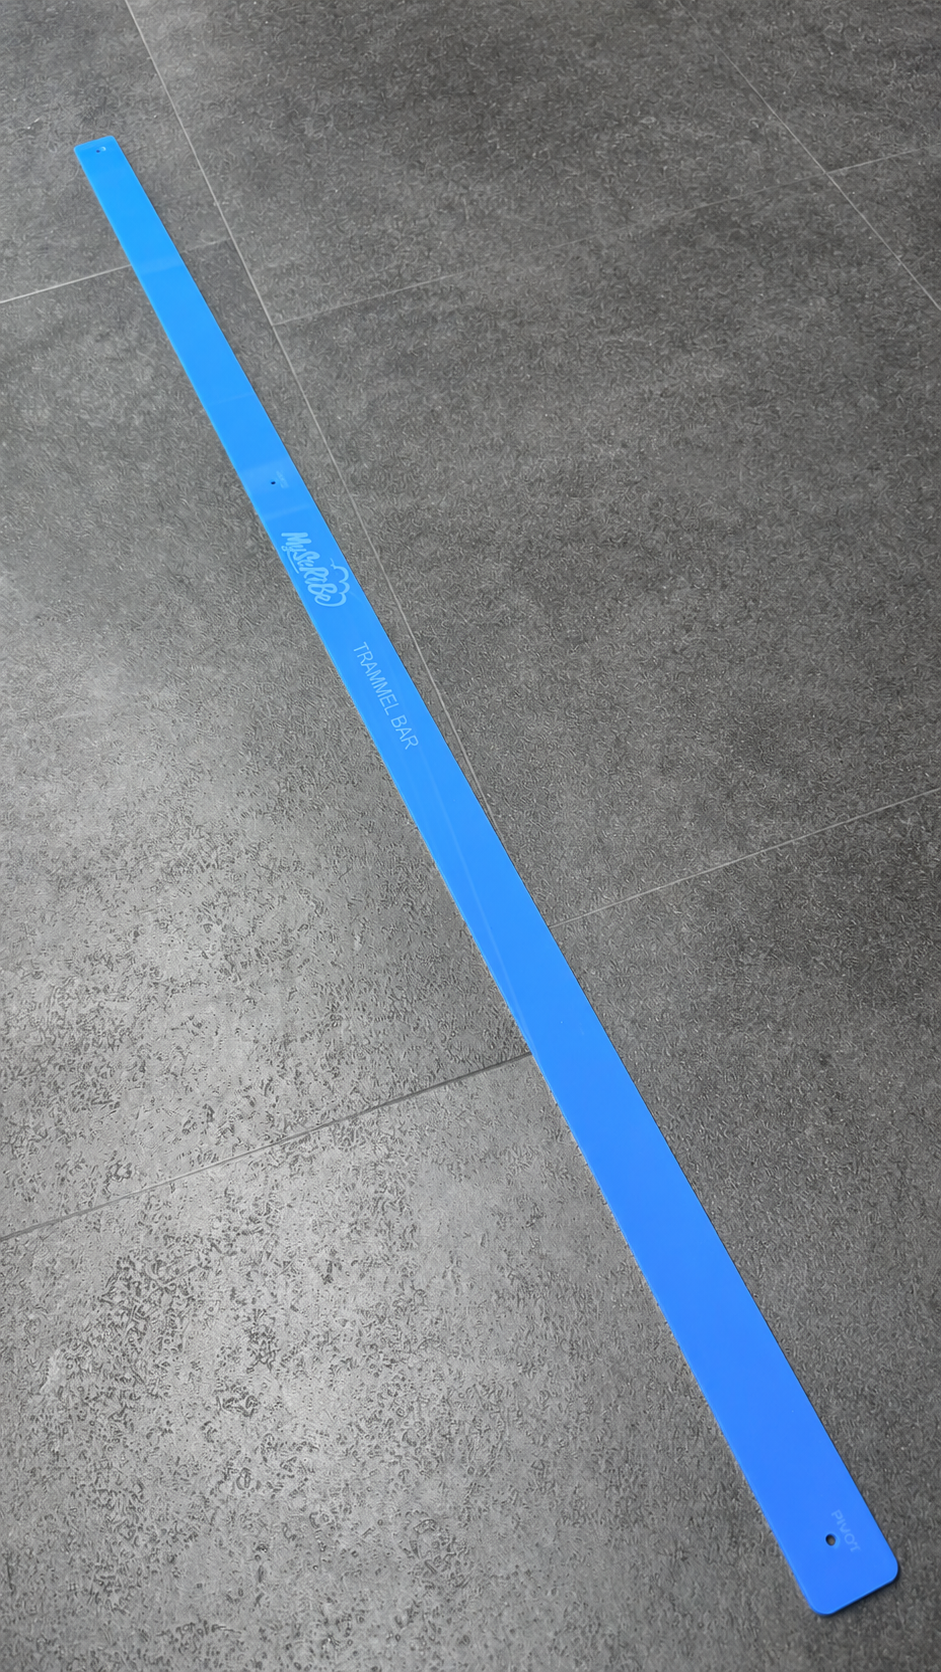 Image 1 of 7
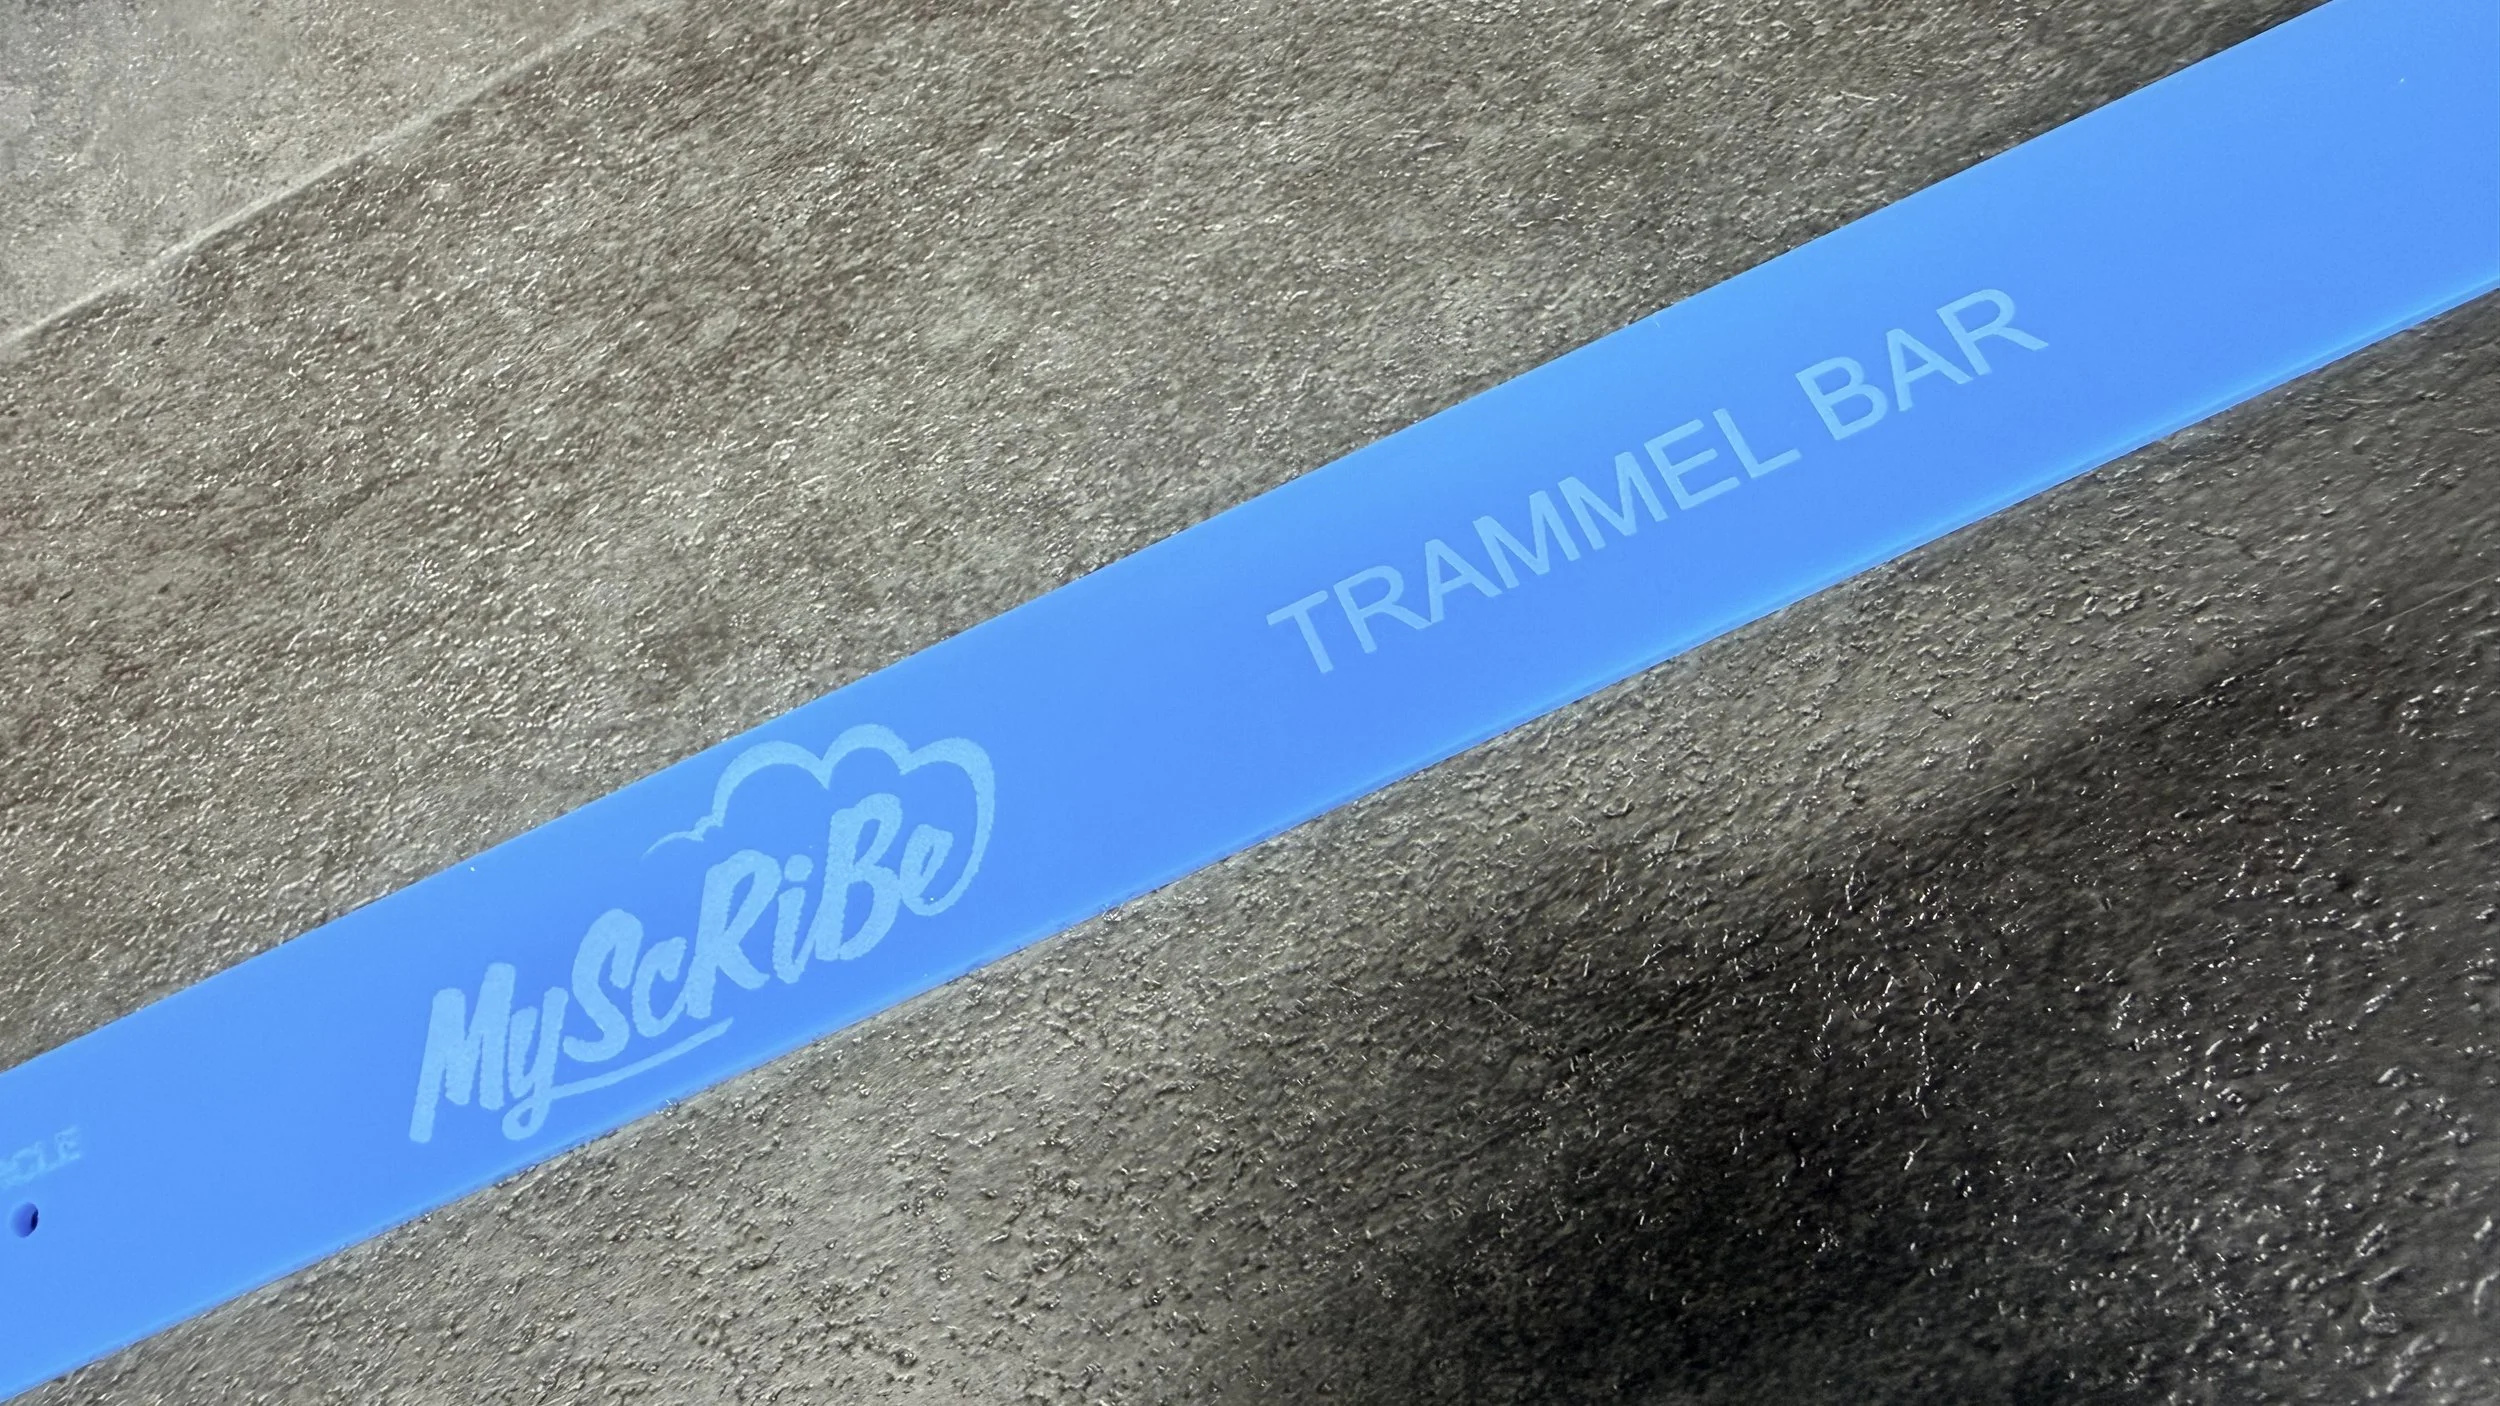 Image 2 of 7
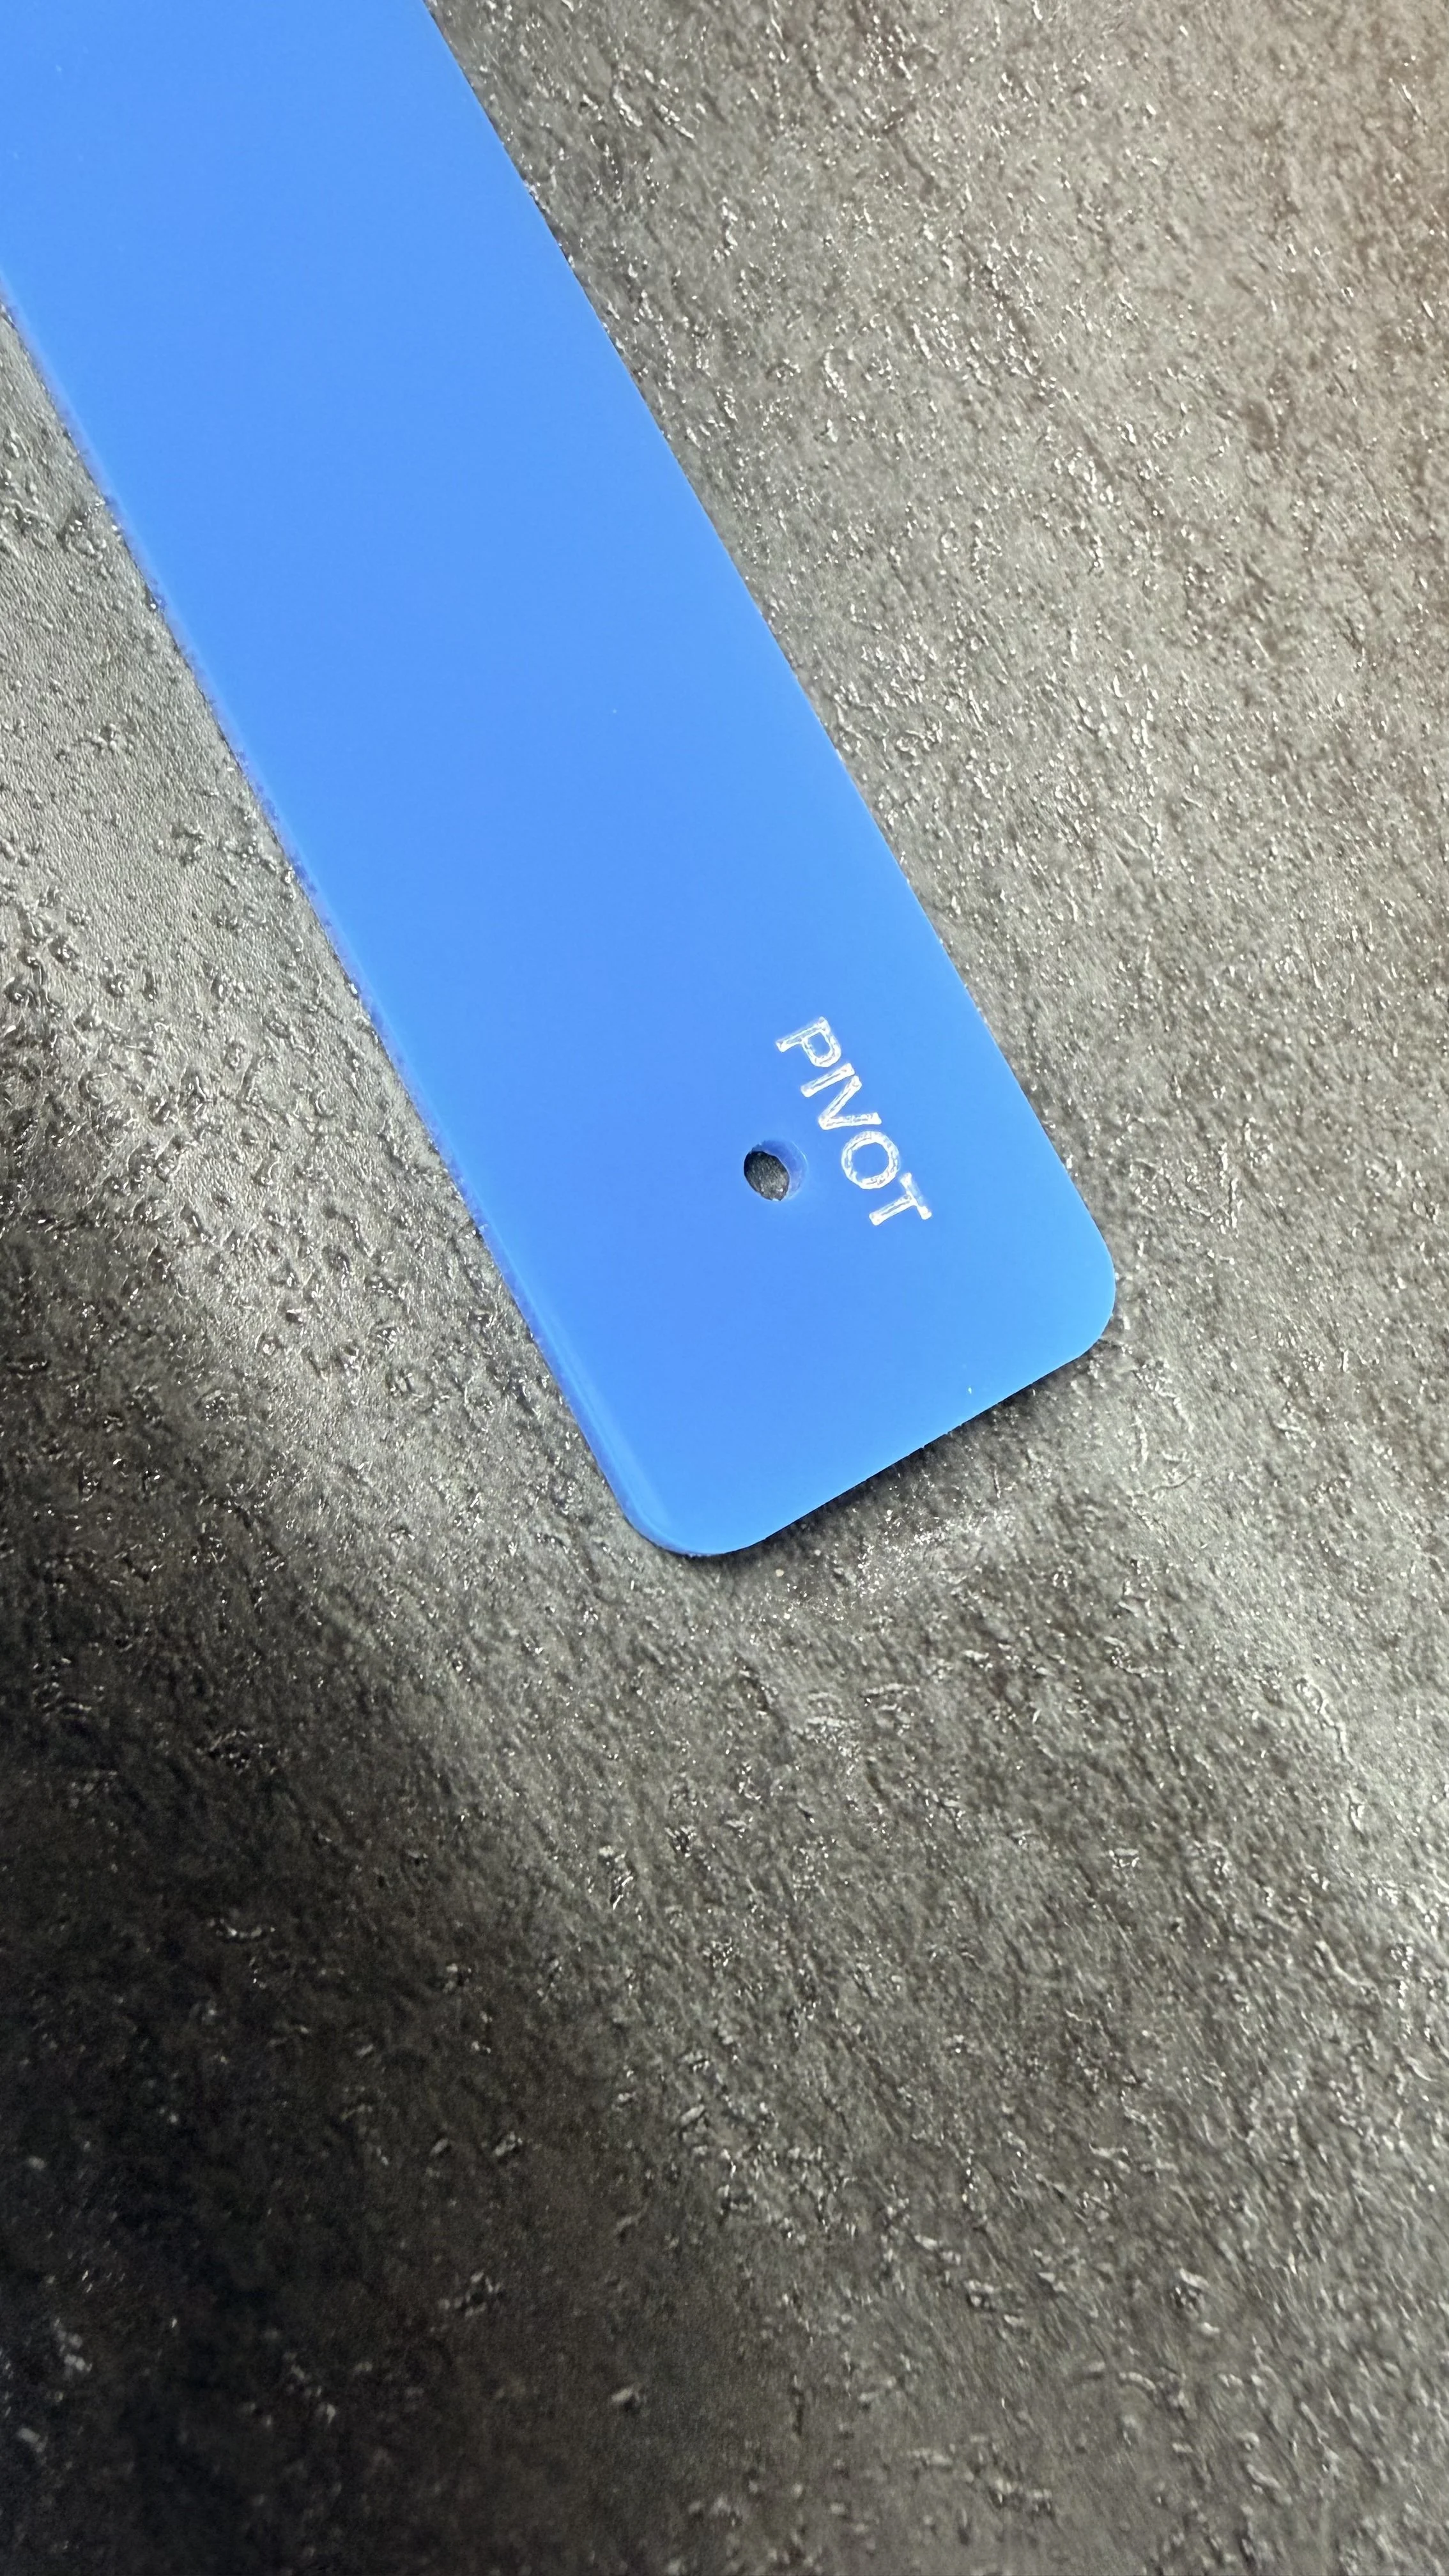 Image 3 of 7
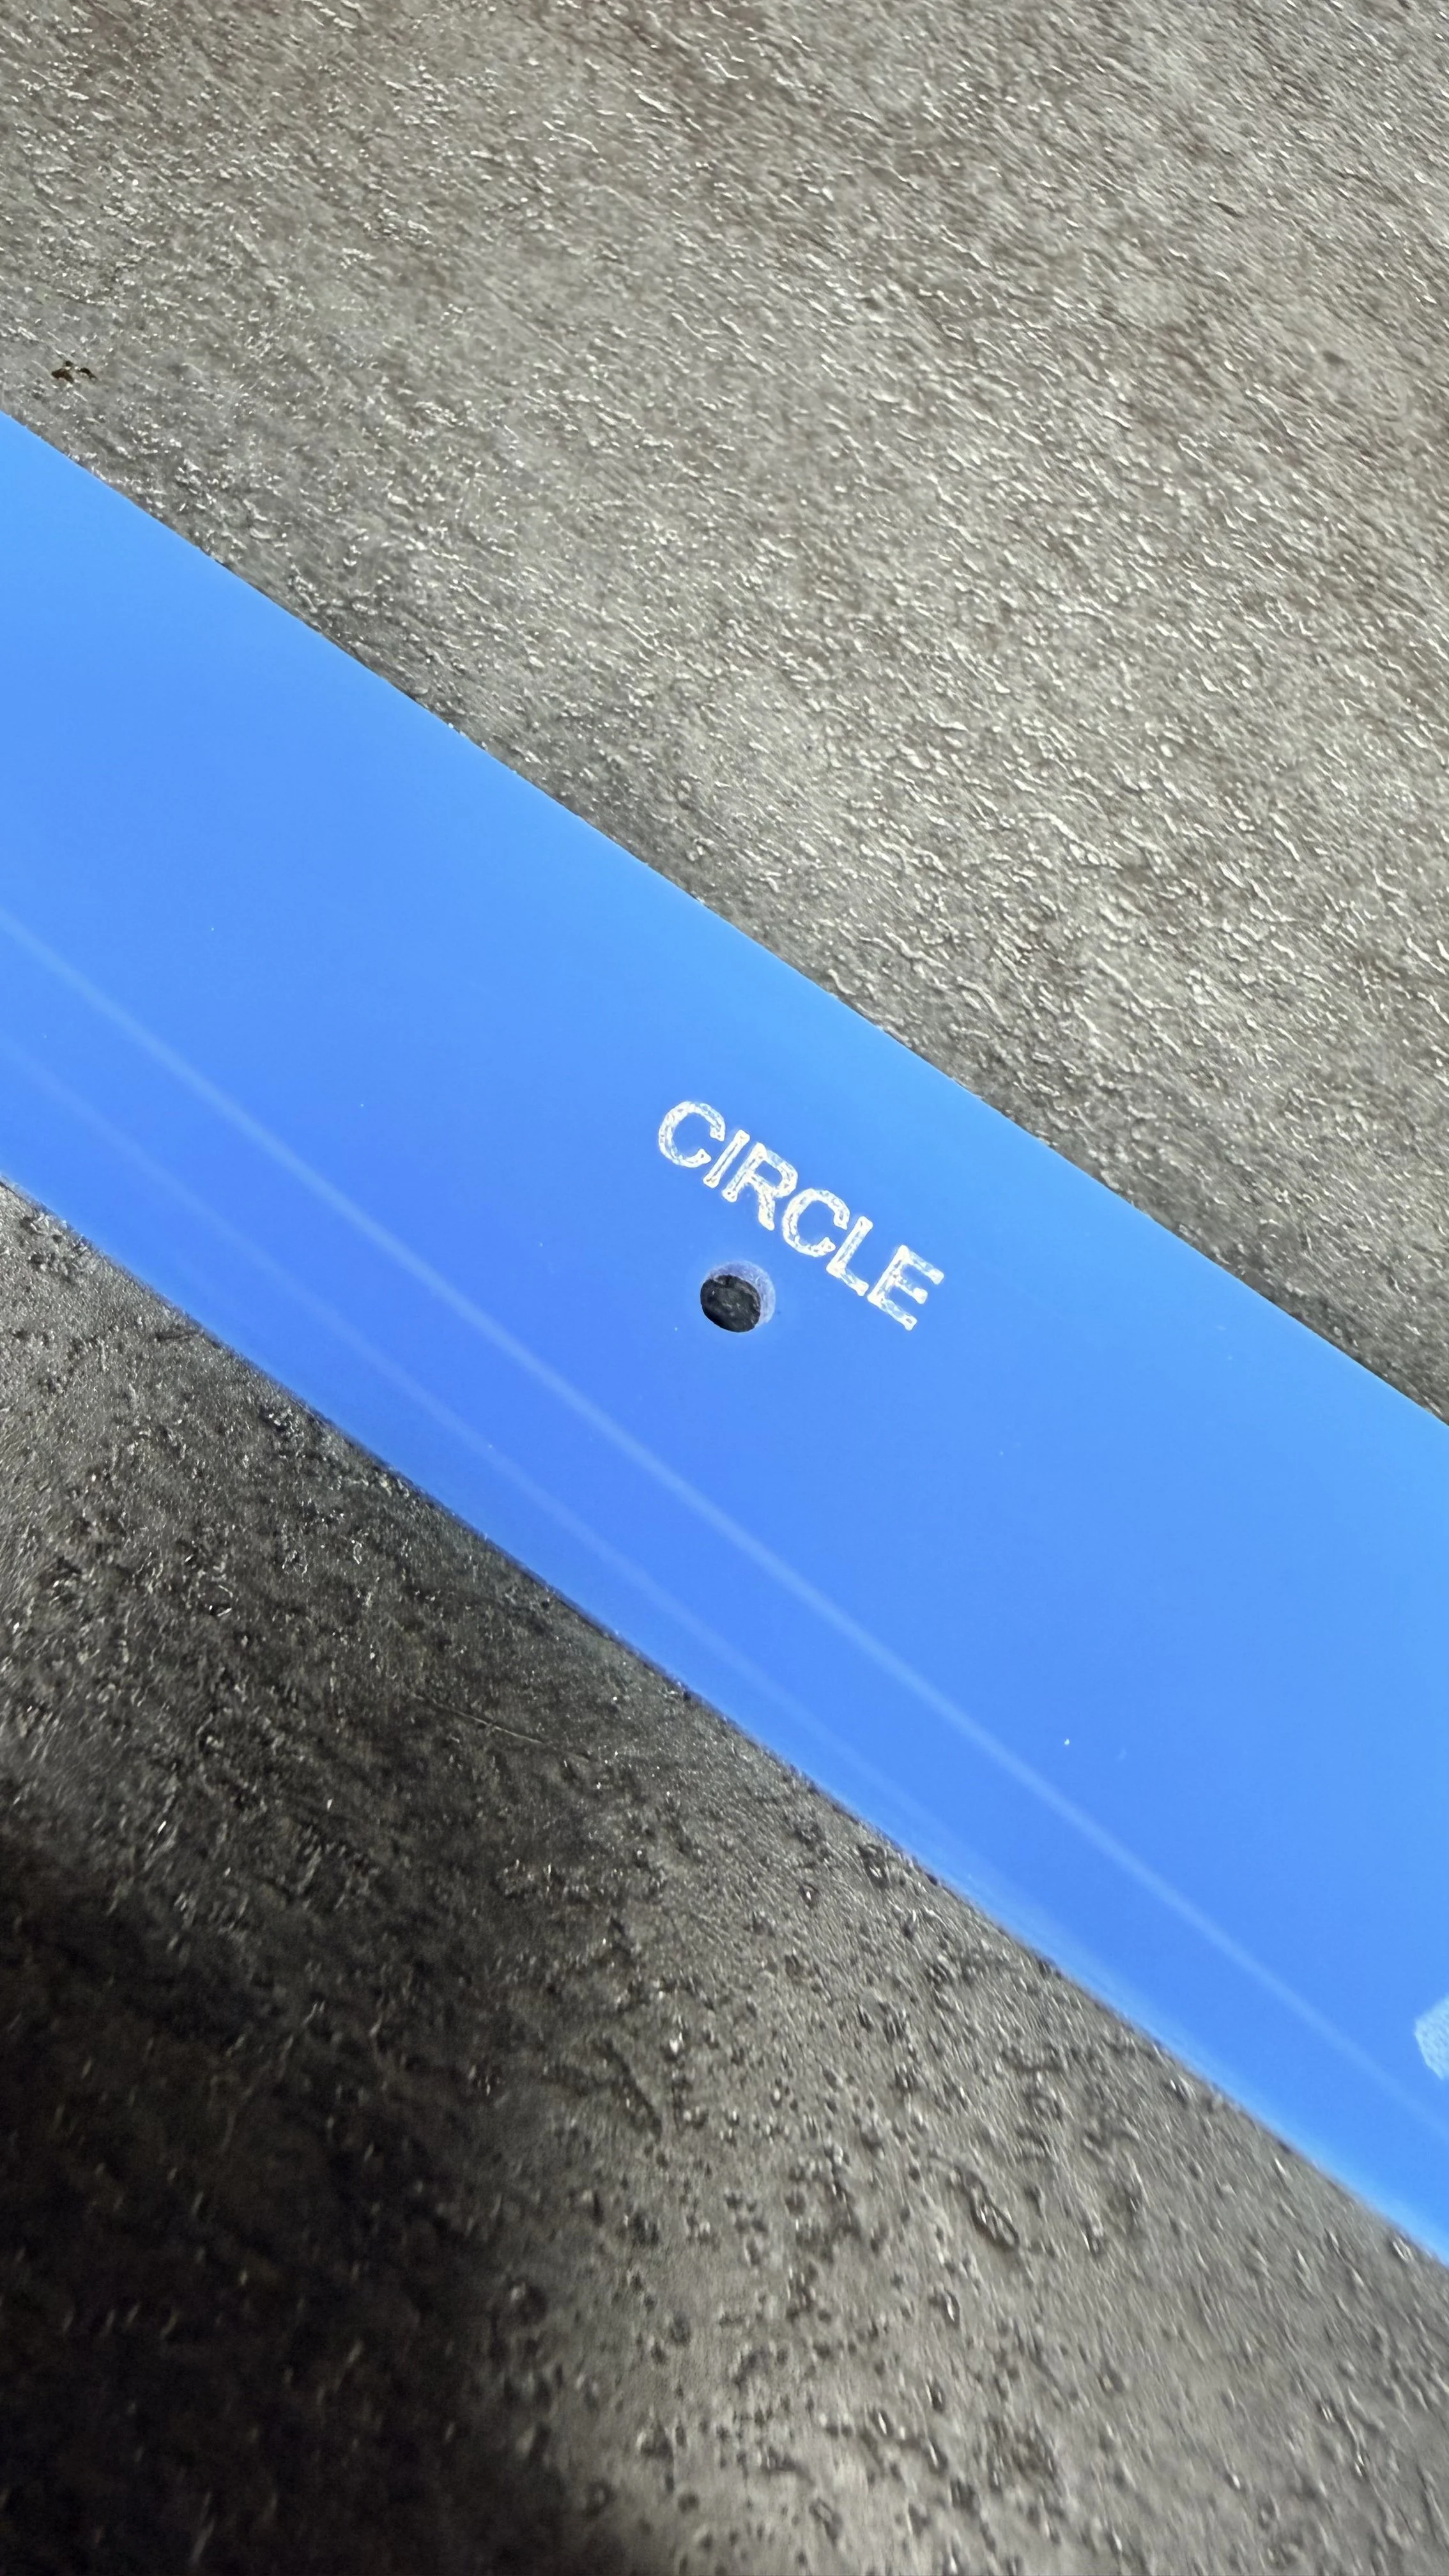 Image 4 of 7
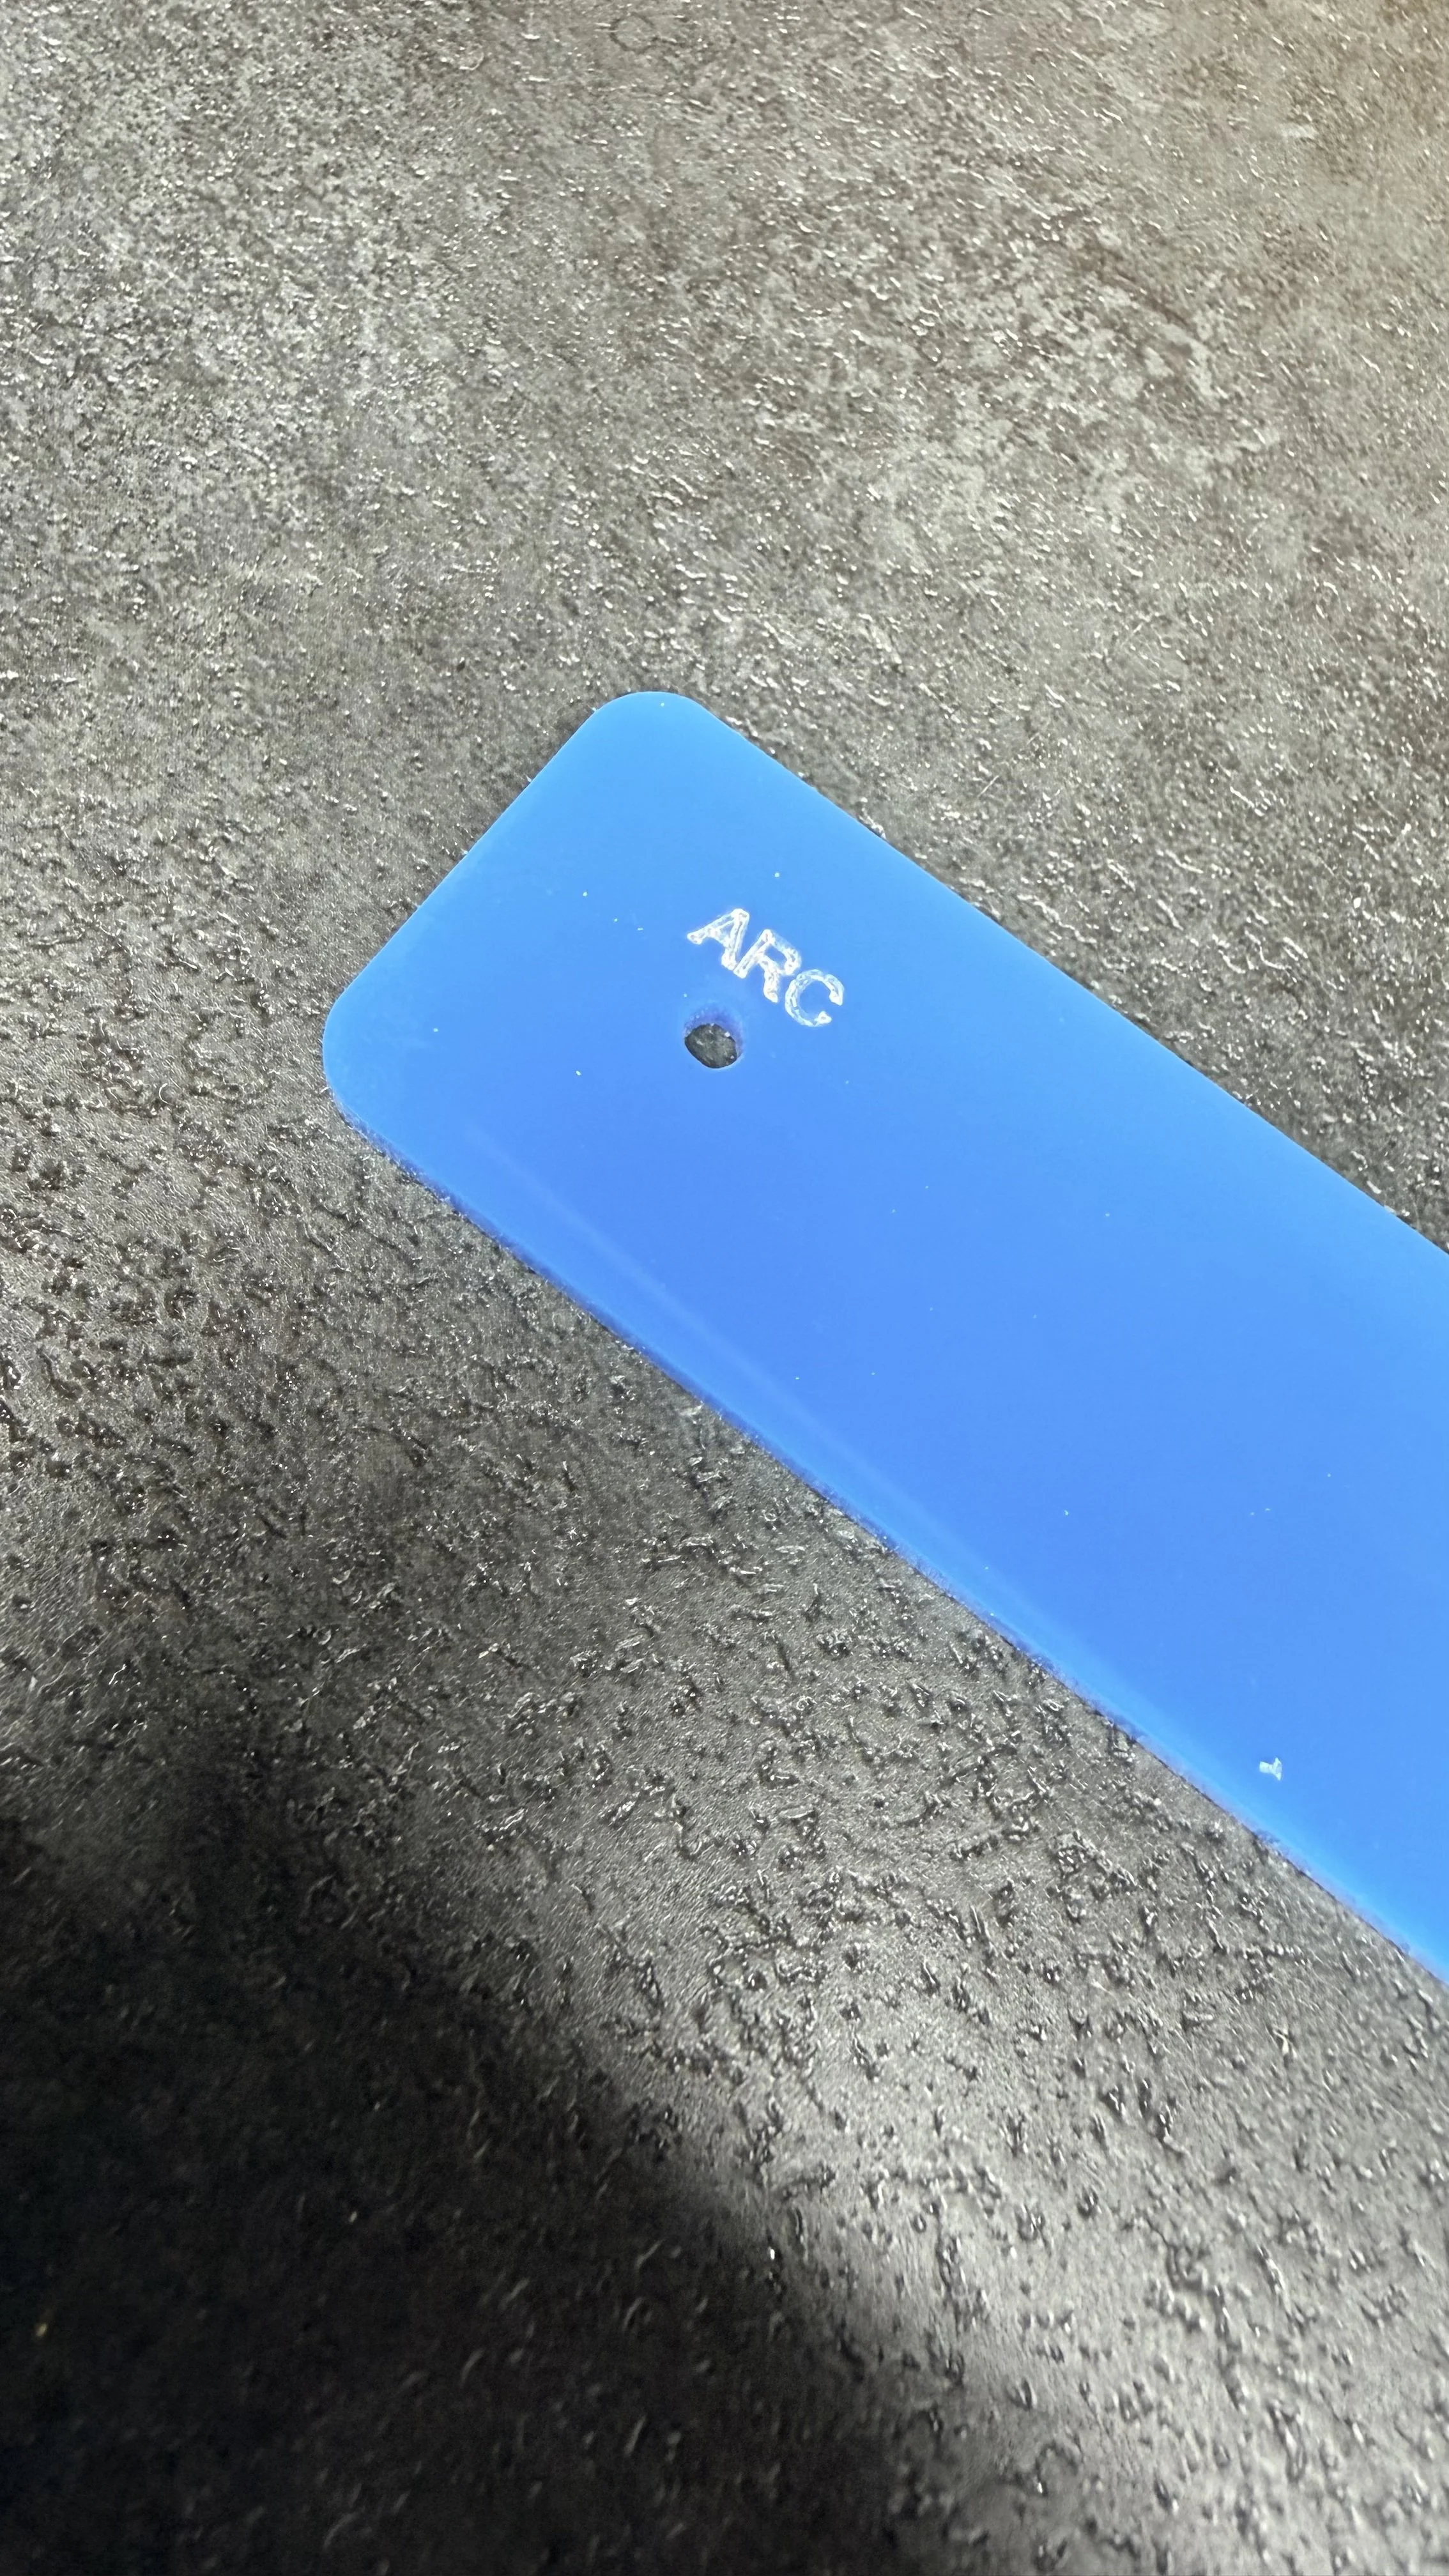 Image 5 of 7
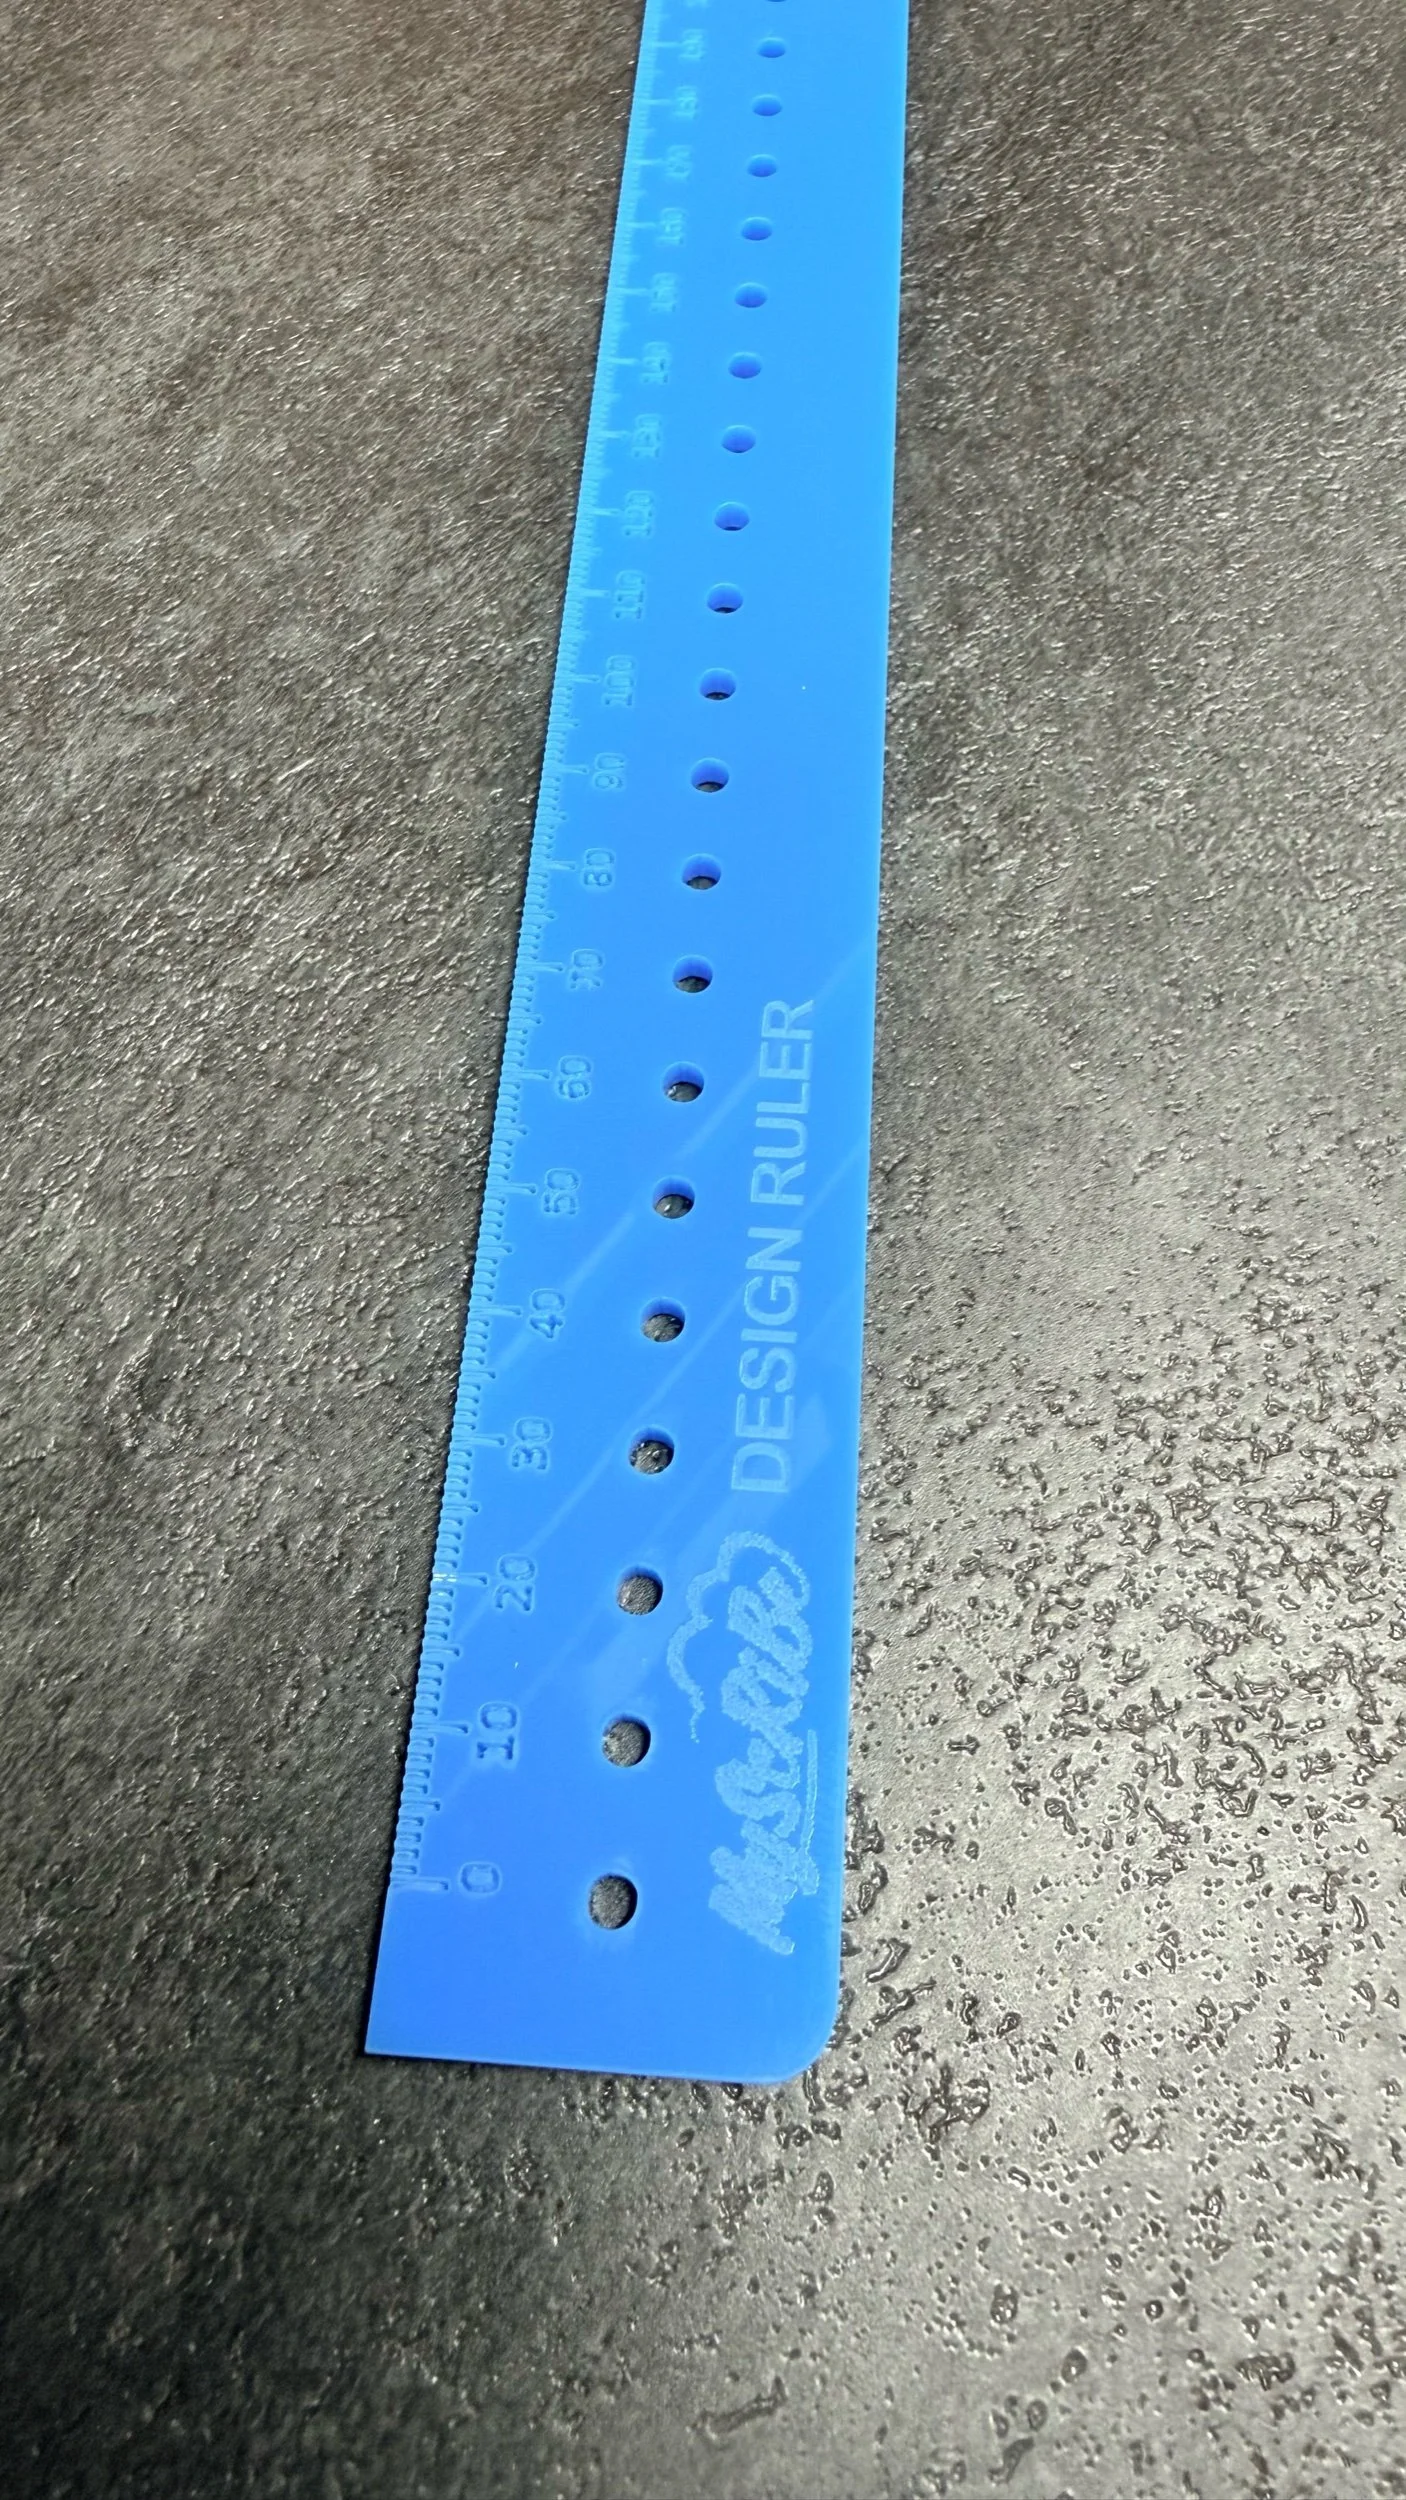 Image 6 of 7
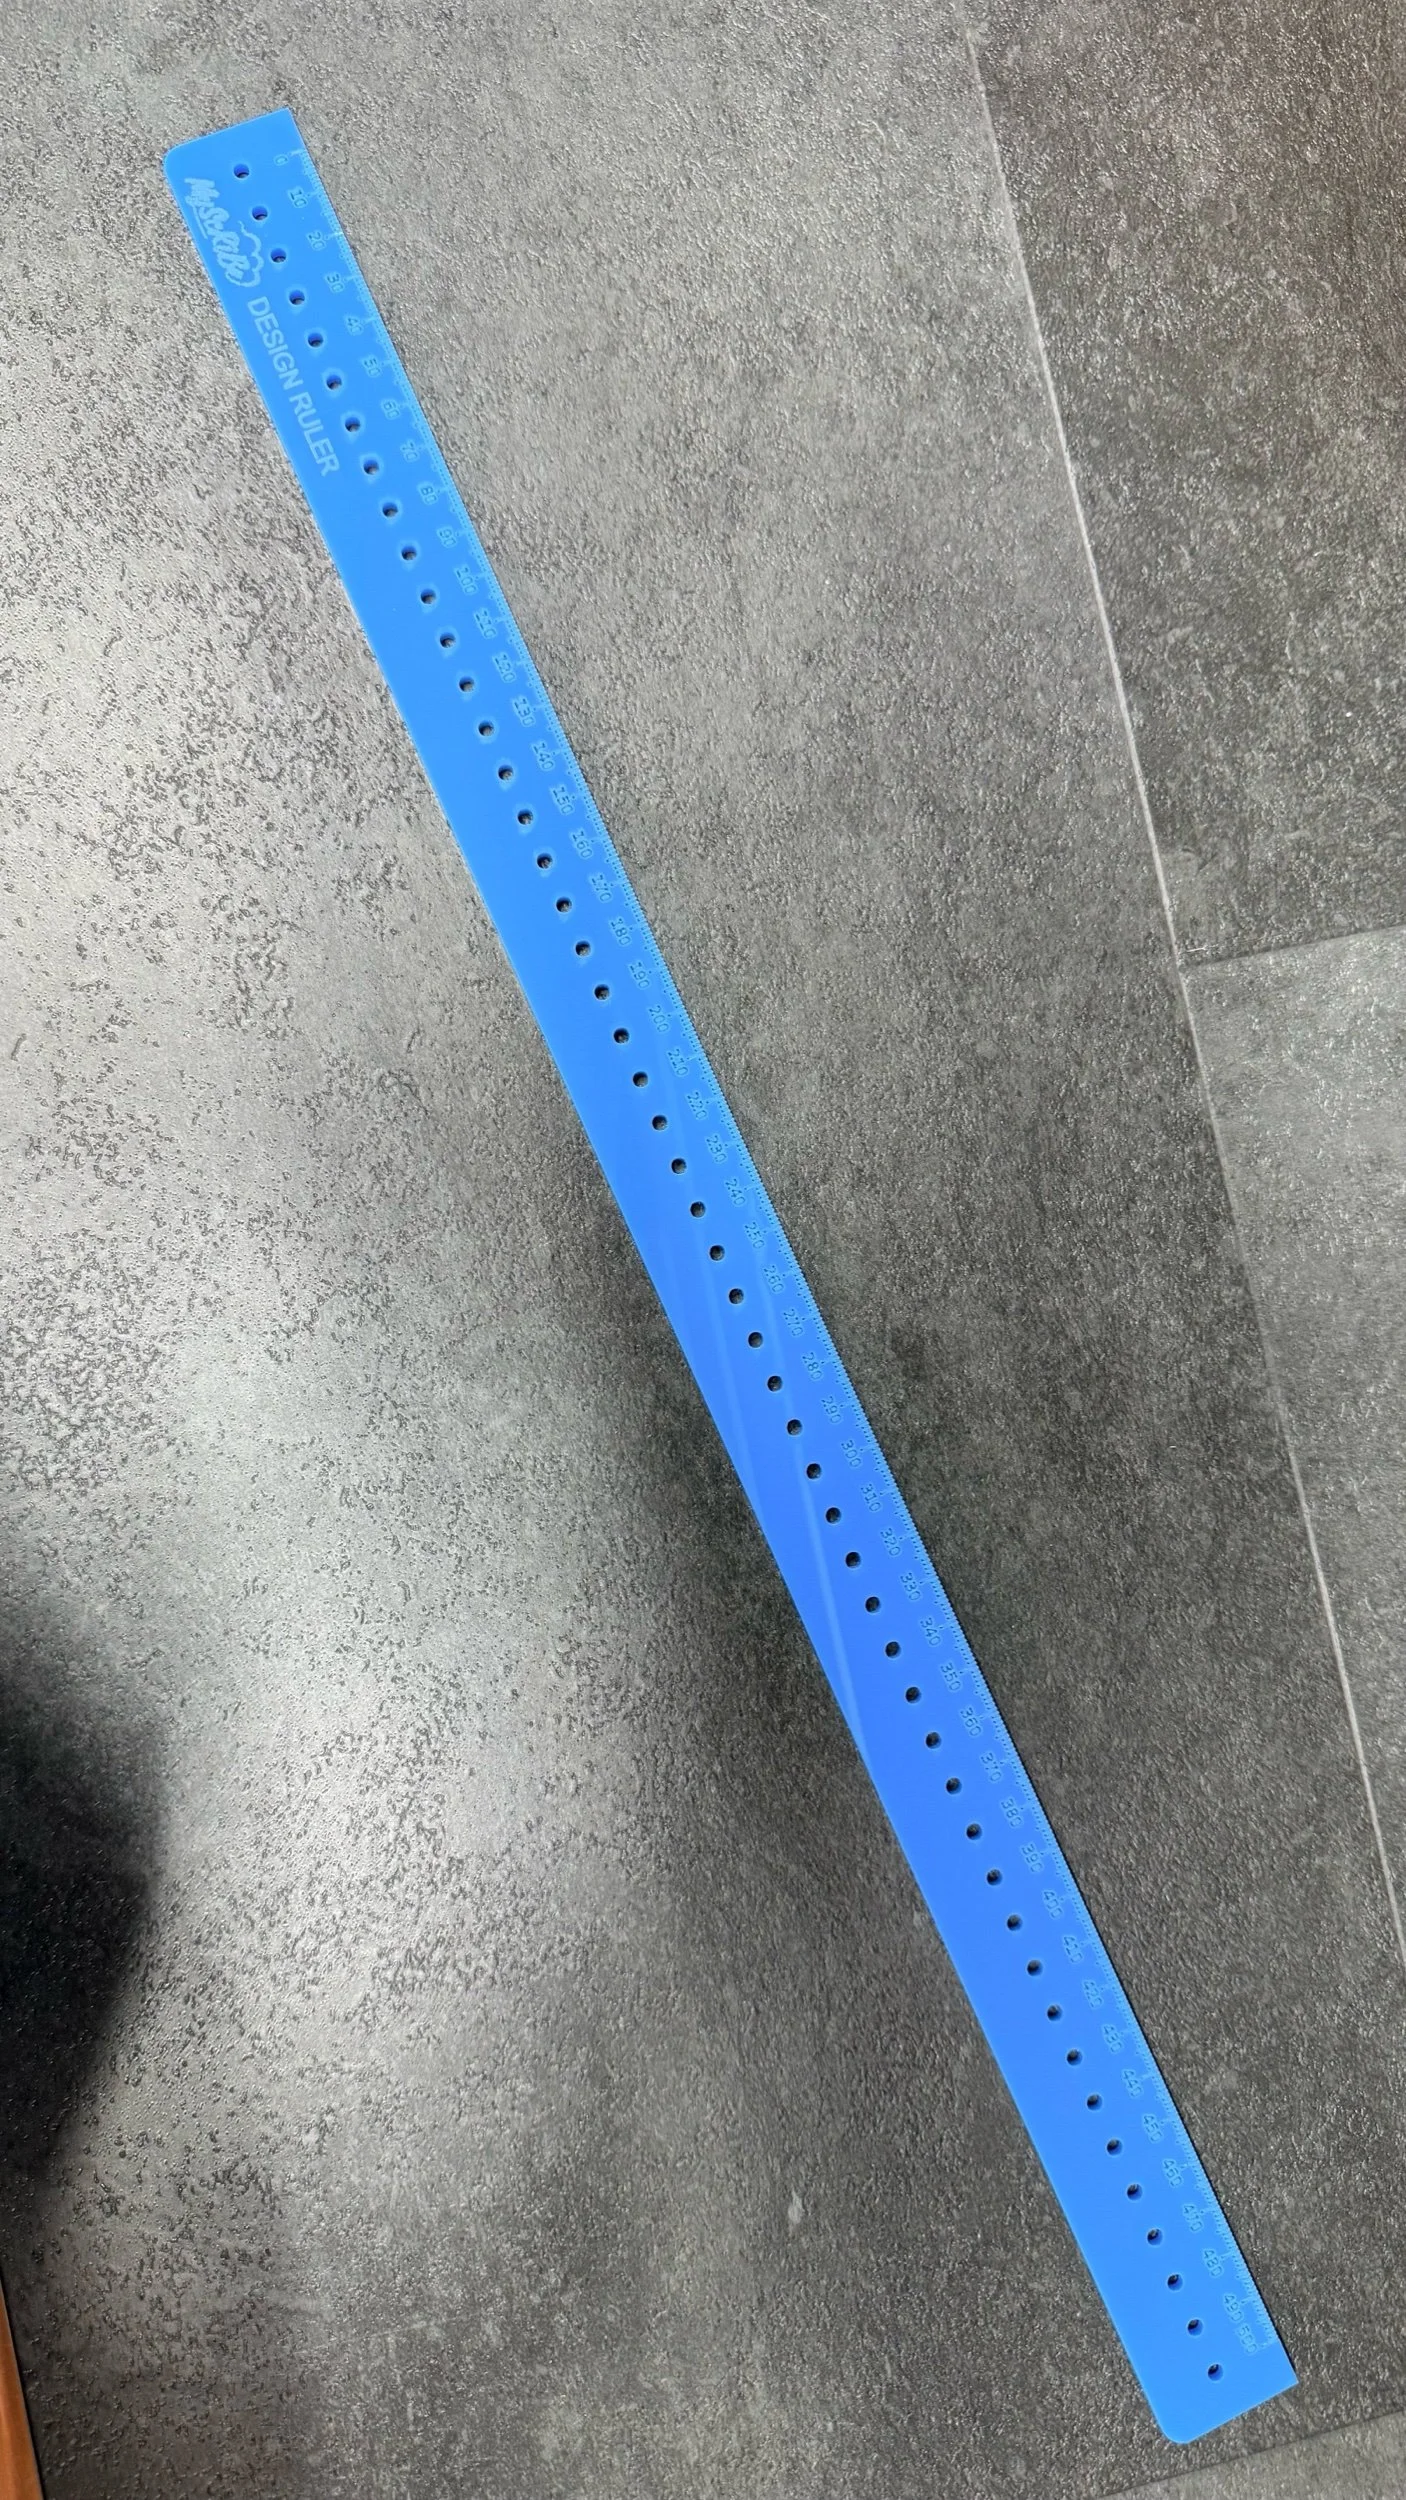 Image 7 of 7